Hatching Turkey Eggs: A Complete Guide for Beginners
Inside: Hatching turkey eggs can be a challenging but rewarding experience for anyone interested in raising their own flock of turkeys.
Raising turkeys can be a rewarding part of your homestead, but one of the biggest challenges (and joys!) is hatching turkey eggs. Whether you’re curious about hatching turkey eggs naturally under a broody hen, or you’d prefer the control of using an incubator, understanding the process is key to success.

This post may contain affiliate links, see my disclosure policy for more information.
Hatching Turkey Eggs: A Complete Guide for Beginners
This guide will cover guidelines to hatching turkey eggs, including incubation time, temperature, humidity, and how turkey eggs differ from chicken eggs.
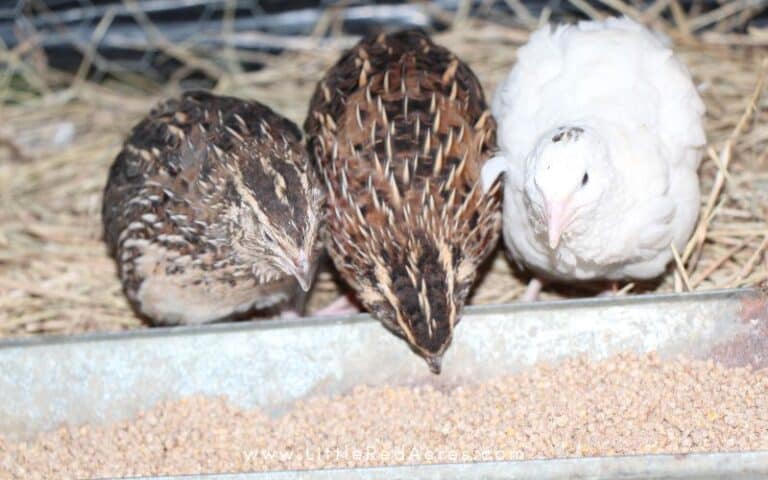
Turkey Eggs vs Chicken Eggs
If you’ve hatched chicken eggs before, you’ll notice some differences with turkeys:
- Size & Shell – Turkey eggs are larger and have thicker, speckled shells.
- Incubation Period – Chicken eggs hatch in about 21 days, while the turkey egg incubation period is longer, averaging 28 days.
- Care Needs – Because of their size, turkey eggs require slightly different hatching humidity and temperature management for best results.
Turkey Egg Incubation Period: How Long Does It Take?
One of the first questions beginners ask is: how long does it take for turkey eggs to hatch naturally?
- Incubation period: 28 days (sometimes up to 30 days)
- Turkey egg hatching time and temperature:
- Temperature: 99.5°F (37.5°C) in a forced-air incubator
- Humidity: 55–60% during the first 25 days
- Lockdown period (last 3 days): increase humidity to 65–70%
Tip: A turkey egg incubation chart is a great reference tool to track turning schedules, humidity adjustments, and lockdown timing.

Hatching Turkey Eggs in an Incubator
Most small-scale farmers or homesteaders rely on incubators for consistency. Here are the basics:
- Collecting & Storing Eggs
- Store at 55°F (13°C) until ready, but no longer than 7–10 days.
- Keep eggs with the pointed end down.
- Setting the Eggs
- Maintain a steady turkey egg incubation temperature of 99.5°F.
- Humidity around 55% is ideal early on.
- Turning the Eggs
- Eggs need to be turned 3–5 times per day until day 25.
- Automatic turners make this easier and prevent mistakes.
- Lockdown (Day 25–28)
- Stop turning the eggs.
- Increase humidity to 65–70%.
- Avoid opening the incubator during this time.
Hatching Turkey Eggs Naturally
Not every homesteader has (or wants) an incubator. So, how to hatch turkey eggs without an incubator?
The natural way is to use a broody hen—turkeys, chickens, or even ducks can sometimes do the job.
- Choose a Broody Hen – Turkeys are excellent mothers and will often go broody on their own. Some chicken breeds (like Cochins) can also be used.
- Nest Setup – Provide a quiet, protected area with clean bedding.
- Number of Eggs – A turkey hen can usually cover 12–15 eggs.
- Care – Make sure she has access to food, water, and shade. She’ll do the turning and humidity management herself.
The turkey egg incubation period is the same—about 28 days—whether using a hen or an incubator.
Guidelines to Hatching Turkey Eggs Successfully
Here are some final guidelines to hatching turkey eggs for better success:
- Always wash hands before handling eggs.
- Keep incubator temperature and humidity consistent.
- Candle eggs at 7 days and 14 days to check fertility and remove clears.
- Don’t rush hatching—poults may take 24 hours or more to fully emerge after pipping.
- Provide a warm, draft-free brooder once hatched.
Hatching turkey eggs can be a rewarding experience, whether you’re using an incubator or relying on a broody hen. By following the proper turkey egg hatching time and temperature, maintaining the right humidity levels, and respecting the 28-day incubation period, you’ll give your poults the best start to life.
Whether you’re adding turkeys for meat, eggs, or simply the joy of raising heritage breeds, mastering the process of hatching is the first step toward success on your homestead.
Frequently Asked Questions About Hatching Turkey Eggs
How long does it take for turkey eggs to hatch? Turkey eggs typically take 28 days to hatch. In some cases, it may take up to 30 days depending on conditions.
What temperature should turkey eggs be incubated at? The ideal turkey egg incubation temperature is 99.5°F (37.5°C) in a forced-air incubator. For still-air incubators, it may be slightly higher.
How are turkey eggs different from chicken eggs? Turkey eggs are larger, have speckled shells, and take longer to hatch (28 days vs 21 days for chickens).

Want More?
The Ultimate Guide to Feeding Turkeys on Your Homestead
Turkey Breeds for Your Homestead
Raising Turkeys and Chickens Together