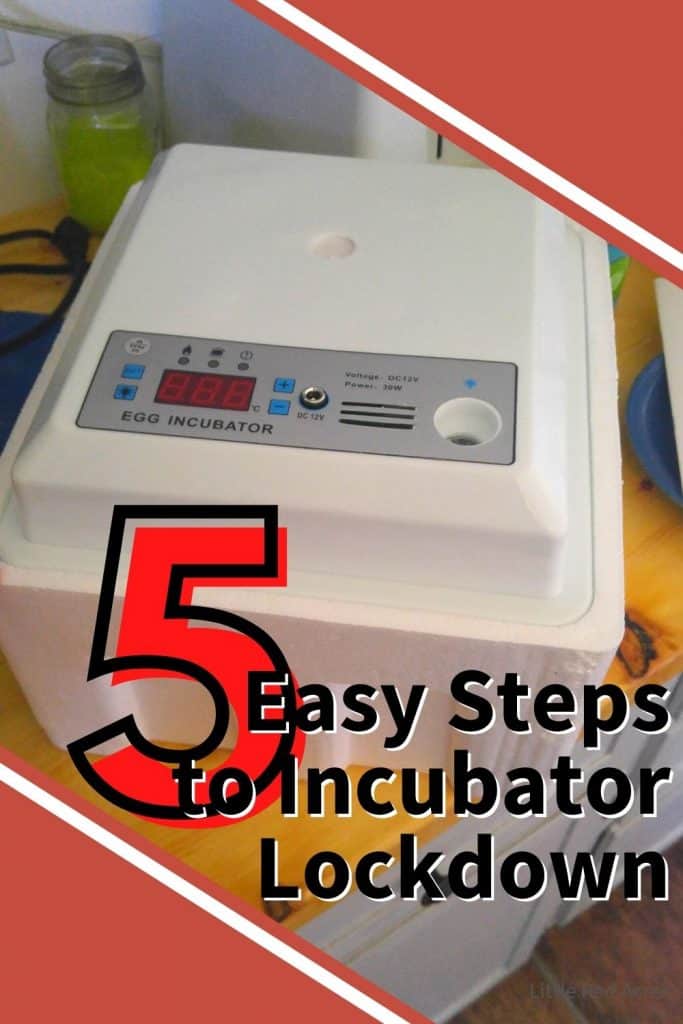
5 Easy Steps to Incubator Lockdown
Inside: Have success with our guide to incubator lockdown in five easy steps. Up your incubating and hatching journey effortlessly.
If you have been reading up, or asking friends about incubating eggs then you have probably heard about incubator lockdown. But what does that mean? What do you have to do to lockdown your incubator, and most importantly, when do you do it?

This post may contain affiliate links, see my disclosure policy for more information.
5 Easy Steps to Incubator Lockdown
Let's start with what lockdown means. In the simplest terms, it means that you are not touching the eggs or the incubator.
You will not be candling the eggs anymore, you will have stopped turning the eggs, and if at all possible you are going to stop opening the incubator until after the chicks have hatched, and preferably are dry and fluffy.
Get updates & freebies delivered to your inbox!
The 5 Steps to Lockdown Incubators
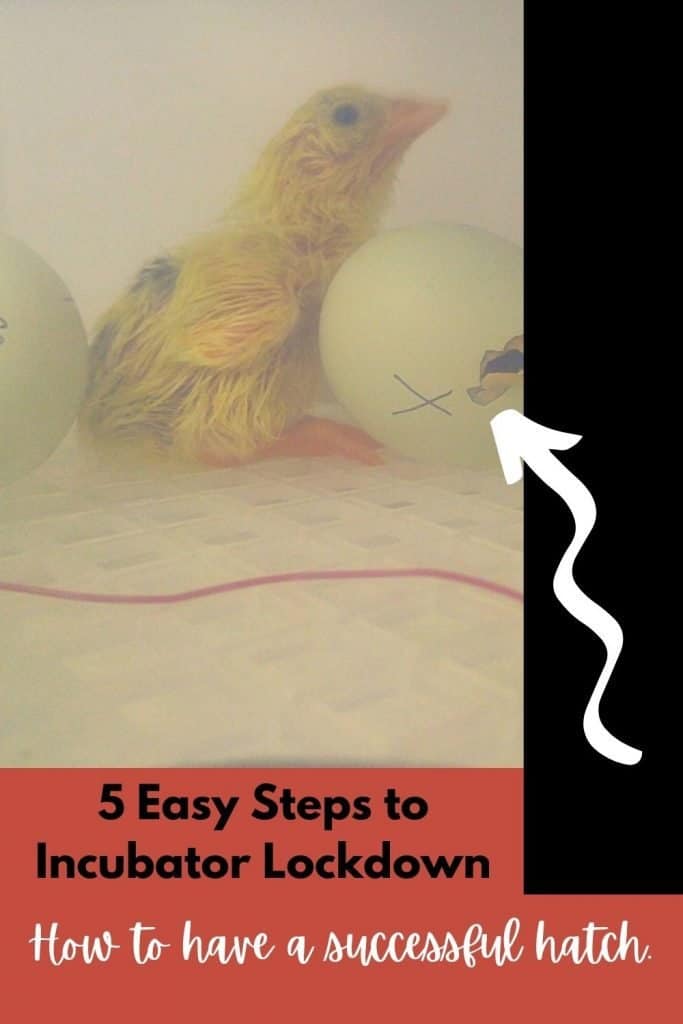
Incubator lockdown is easy. You get to stop turning eggs which is always a weight off our shoulders.
Step One in Incubator Lockdown
- remove any turning plates, trays, or rollers from your incubator. You can set the eggs out on a safe surface for a few minutes while you do this.
- some like to use a non-slip grip on the bottom of the incubator to help the chick grain footing as they are going to be running all around crazy as they are hatching, especially quail, I do this now as well.
Step Two in Locking Down Your Incubator
- Candle your eggs. You can find a candler on Amazon, use a small, bright flashlight, or even your cellphone flashlight as they are quite bright.
- If eggs are not showing signs of developing, remove them. You will know the egg is developing and getting ready to hatch because most of the egg will be quite dark, there is a whole chick in that egg. Place back in the incubator.
Step Three in Incubator Lockdown
- Increase humidity. Make sure that you have topped up any water trays that are in your incubator. OR have adjusted your humidity pump if that is what you are using. It should be about 60-65%.
- Make sure that there is oxygen getting into your incubator. Even at this late stage, you can lose chicks due to a lack of enough oxygen.
Step Four in Locking Down Incubators
- Stop turning your eggs. They need some peace and stillness to get themselves into the right position for hatching.
Step Five – Final Step to Lockdown
- Close the incubator. No more touching or candling of the eggs. Opening and closing it during this time is going to let the humidity out which can cause the membrane around the chick to dry out and kill them.
- Find where you can add water to your incubator and fill it up. I am able to add water without opening my incubator. The humidity should be 65%-70%. Too high they can drown, to low and the membrane is going to dry and dry to the chick.
- Opening the lid occasionally for a few seconds to fill the humidity pot will not affect humidity much, and the levels will rise again, although that can take a while.
That's all there is to it. It's not hard, it's going to take maybe 5 minutes depending on how many eggs you have to get everything in place, or out of place when removing turning trays. And in three days you should hear some pipping and see some cute chicks.
Frequently Asked Questions
What is the lockdown for incubating eggs? These last three days are referred to as lockdown because you stop turning the eggs and leave the lid/door/top closed. This not only helps the chicks to get correctly oriented for hatching, but it helps to raise the humidity since you're no longer opening the incubator.
What should the humidity be in the incubator during lockdown? Raise the humidity during “lockdown,” to 65%-70%.

Want More?
Getting Started with Incubating Eggs
How to Tell if Eggs are Fertilized
7 Reasons to Have Backyard Chickens