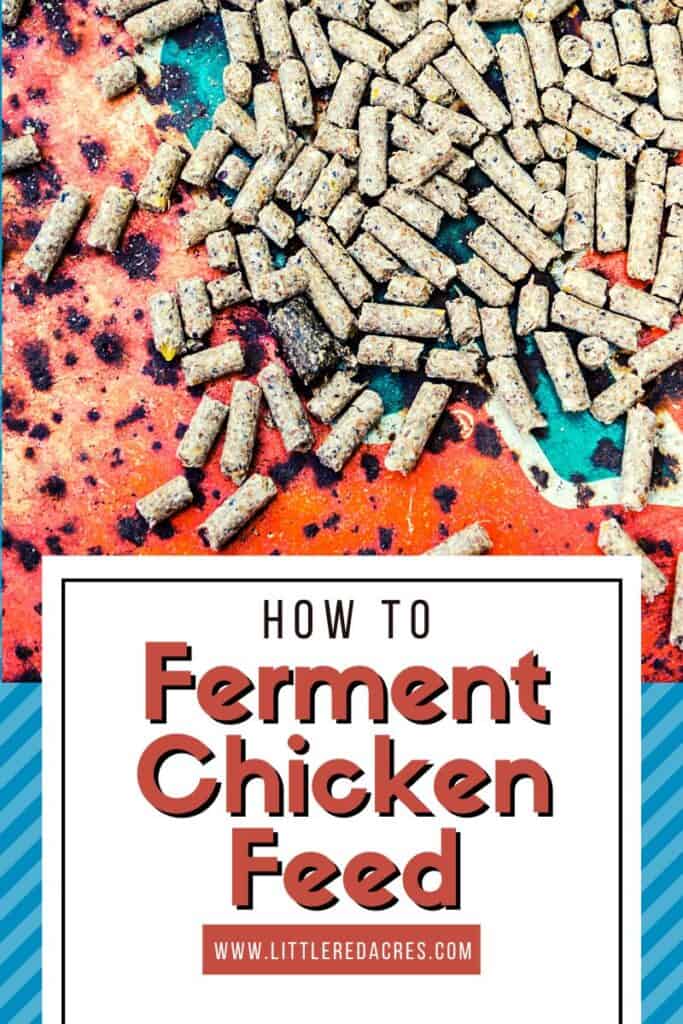
How to Make Fermented Chicken Feed for Healthier Hens
Inside: Maybe you want to try to ferment chicken feed for even better feed for your chickens. Better for their health, and better for your budget.
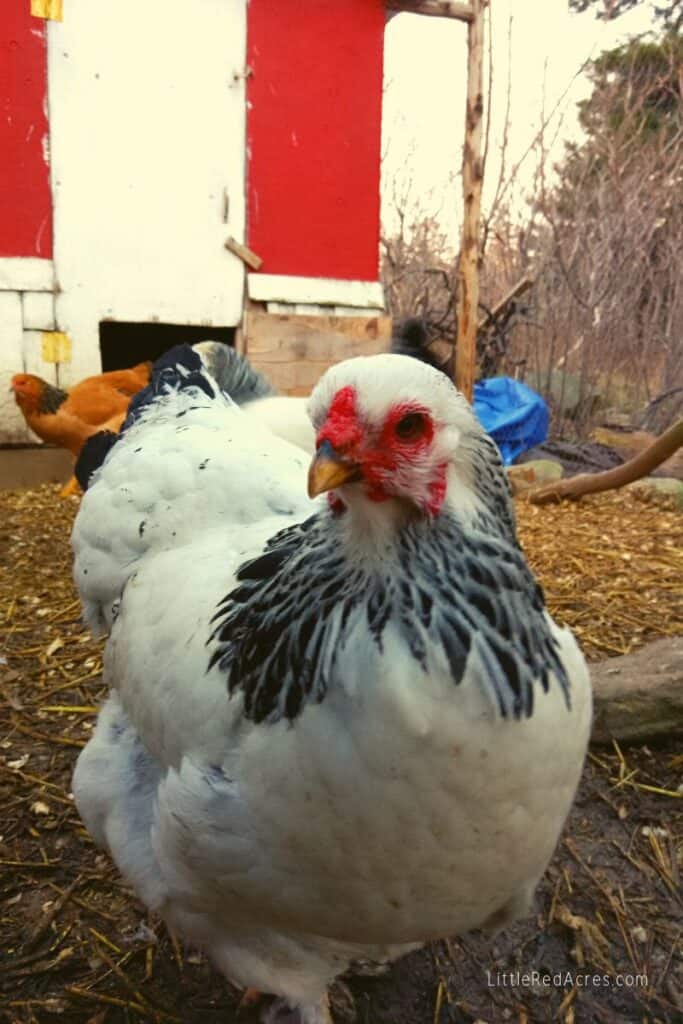
If you're raising backyard chickens, you know how important nutrition is to their health, egg production, and overall happiness. A great way to boost your flock’s gut health, improve nutrient absorption, and even save money on your feed bill is by making fermented chicken feed.
This post may contain affiliate links, see my disclosure policy for more information.
How to Make Fermented Chicken Feed for Healthier Hens
This simple process uses the power of natural fermentation (much like sourdough bread or lacto-fermented foods) to improve the quality of your chicken food—without adding chemicals or complicated steps. Whether you're caring for meat chickens, egg layers, or even baby chicks, fermentation offers real health benefits for your birds and your homestead budget.
Let’s walk through the fermenting process, step-by-step.
Why Ferment Chicken Feed?
Fermenting chicken feed has gained popularity among chicken keepers for some excellent reasons:
- Increases beneficial bacteria (like lactic acid bacteria) in the chickens’ gut
- Improves chickens’ intestinal health and supports their immune system
- Reduces the presence of bad bacteria, including E. coli and other acid-sensitive pathogens
- Makes nutrients like protein, B vitamins, folic acid, and phytic acid more bioavailable
- Leads to thicker shells, heavier eggs, and even improved egg weight and shell weight
- Helps reduce feed costs by requiring less feed per serving
- Naturally increases water intake as chickens consume more moisture with the feed
- Creates a natural barrier in the gut, reducing health issues
- Cuts back on feed waste
For many, it's the cost savings and boost in chickens’ health that make this a good idea—especially during winter months or when feed prices spike.

What You Need to Ferment Chicken Feed
- Whole grains, pellets, or crumbles (preferably organic)
- A container: large mason jars, a 5-gallon bucket, or food-safe ceramic or glass jars
- Dechlorinated water or filtered water (avoid straight tap water if it contains chlorine)
- Optional: apple cider vinegar with the “mother”
Full disclosure: Whole grain feed holds up best during the fermenting process, while crumbles may turn to mush.
Step-by-Step: How to Make Fermented Chicken Feed
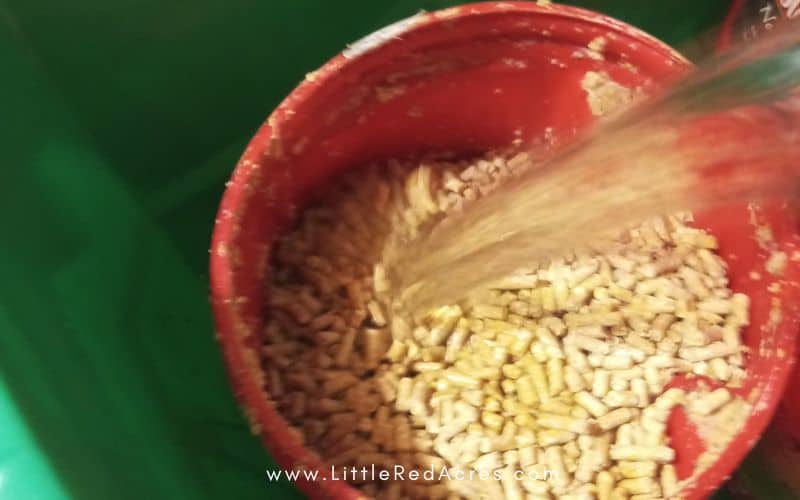
Step 1: Add Feed to a Clean Container
Start with the amount of dry feed your flock eats in 1–2 days. If you're new to this, it's a good idea to start small for your first batch.
Place the feed in a clean glass jar, bucket, or another non-metal container (fermentation is slightly acidic, and metal can corrode).
Step 2: Add Enough Water
Pour in enough water to fully submerge the feed. Leave a few inches of water above the feed, since it will swell. Make sure there’s room for stirring and expansion. If you’re using city water, let it sit out overnight to allow chlorine to evaporate—or use dechlorinated water or filtered water.
Check the water level daily and top it off as needed.
Step 3: Cover and Ferment
Loosely cover the container with a lid, towel, or plate. It should not be airtight. This allows wild yeasts and healthy probiotics to work while letting fermentation gasses escape.
Keep the container at room temperature (ideally 65–75°F).
- First day: Stir well and check the smell and water content.
- Second day: You may see bubbles forming—this is normal!
- Third to fourth day: The mixture should smell tangy and slightly sour, like yogurt or sourdough.
At the end of the day, you'll have a fresh, nutrient-rich fermented mash ready to serve.
The Getting Started with Homesteading eBook Bundle is perfect for those who want to start living a more sustainable, self-sufficient lifestyle. With this bundle, you’ll get five eBooks that cover topics like gardening, raising chickens, gardening, and more.
Optional: Balance With Apple Cider Vinegar
If the mixture gets too sour or yeasty, stir in 1 tablespoon of unpasteurized apple cider vinegar per gallon of feed. This helps rebalance the pH and maintain a healthy colony of good bacteria.
Feeding and Storage Tips
- Scoop out only what you’ll feed for the day.
- Rinse the rest of the feed or stir daily.
- Avoid contamination—use clean tools!
- Don’t let it sit more than 5 days. By the second batch, you’ll know how much works for your large flock or small one.
- Discard any feed that smells rotten or develops mold (not to be confused with the sour, tangy scent of good fermentation).
You can start a new batch every other day to keep a steady supply going.
Is Fermented Feed Right for You?
It’s a great way to improve your chickens’ health, lower your feed budget, and reduce consumption of feed. But—fermented feed isn’t for everyone.
If you're overwhelmed or short on time, don't stress. Even feed soaks (a quick overnight water soak) provide some nutritional benefits without full fermentation. Try fermenting when you can, and give yourself grace.
Good luck with your first time trying fermented feed! Your hens will thank you with healthier eggs, stronger shells, and bright, clucky energy.
Whether you're raising meat birds or pampered egg layers, adding fermented feed to your flock's routine is one of the best ways to promote healthy chickens, improve their gut health, and stretch your feed dollars.
Once you get the hang of the process of fermentation, it becomes second nature. And who knows? You might just start fermenting your own chicken feed like a pro.
Frequently Asked Questions About Fermented Chicken Feed
Should I ferment my chicken feed? Fermenting chicken feed makes nutrients more readily available, feed requirements lessened, and less waste since the chickens love it.
Can chickens eat fermented feed every day? You can use it simply as a tasty, healthy treat for your flock, you can make it strictly their diet for the entire day, or you can do a combination.

Want More?
Chicken Treats Guide to A Healthy Flock of Chickens